![]()
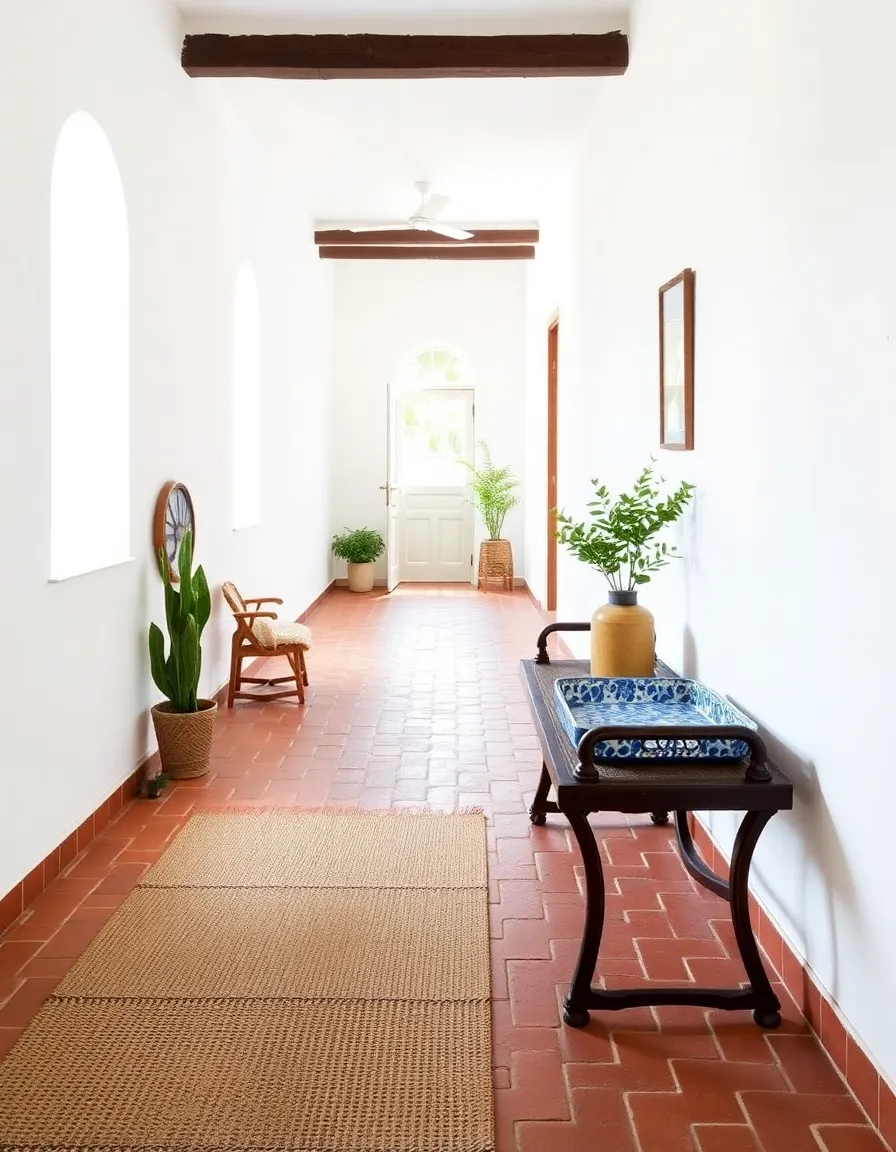
Using Spanish Tile Flooring and Mosaic Accents in Hallways

Hey there, fellow design lover! If you’re anything like me, you’ve probably spent way too much time staring at flooring options, wondering how to make your hallway pop without going full-on HGTV cliché. Well, let’s talk about one of my all-time favorites: Spanish tile flooring. It’s bold, it’s timeless, and—bonus—it doesn’t scream “rustic Tuscan villa” (unless you want it to, but we’re not going there today).
Now, pair those gorgeous tiles with some mosaic accents, and suddenly your hallway isn’t just a pass-through—it’s a statement. Whether you’re renovating or just daydreaming (no judgment here), I’ll walk you through why this combo works, how to choose the right tiles, and even how to avoid common pitfalls. Spoiler: wet socks and slippery tiles are not a vibe.
So, grab your imaginary tapas (or real coffee), and let’s dive into the world of Spanish tiles and mosaics. Trust me, by the end of this, you’ll be eyeing that boring beige carpet like it personally offended you.
1. Why Spanish Tile Flooring is a Hallway Game-Changer
Let’s start with the obvious: Spanish tiles are stunning. They bring warmth, texture, and a touch of Mediterranean charm without requiring you to install a fountain in your foyer. IMO, they’re the perfect middle ground between “basic builder-grade” and “over-the-top ornate.” Plus, they’re durable—perfect for high-traffic areas like hallways where shoes, pets, and rogue grocery bags wreak havoc.
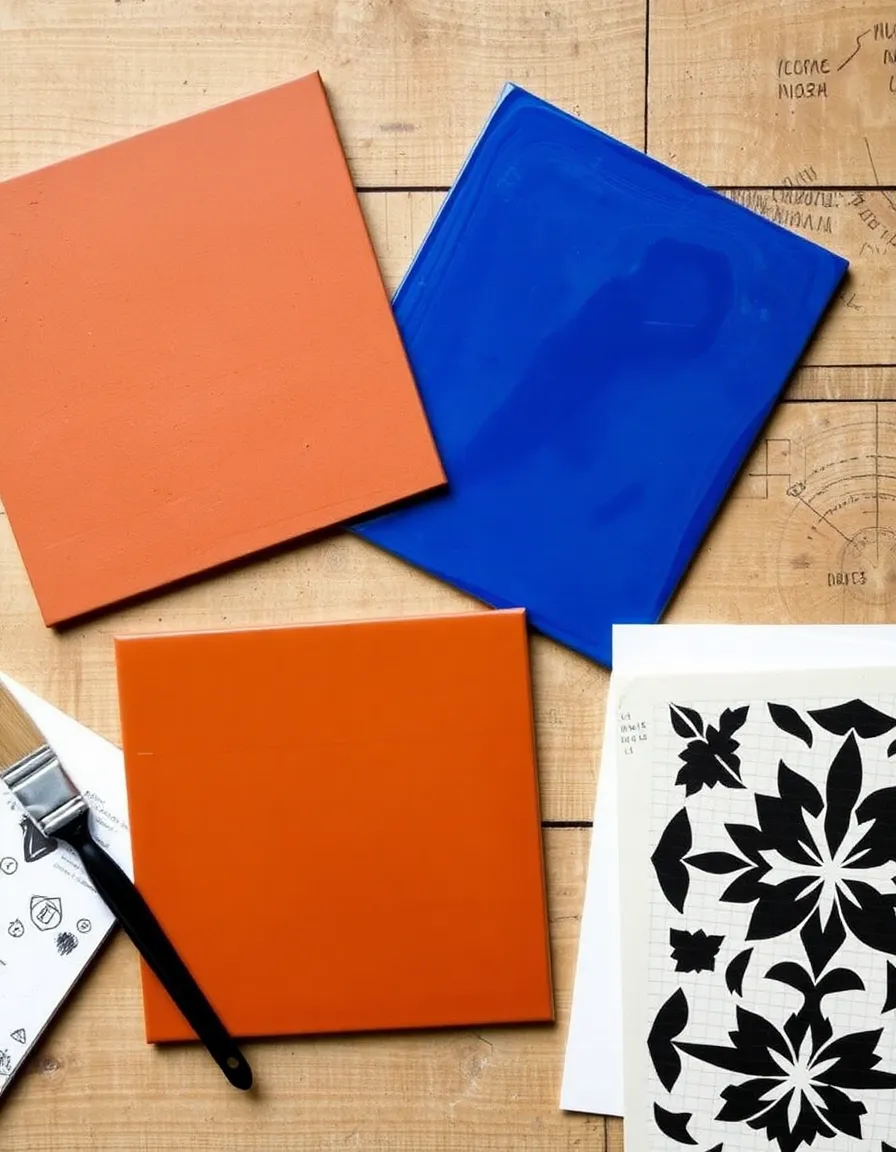
What makes them stand out? The colors and patterns. Unlike mass-produced ceramic tiles, Spanish tiles often feature hand-painted details and earthy tones that age beautifully. Think terracotta reds, ocean blues, and sunbaked yellows. And because they’re typically made from natural clay, they’ve got this organic, lived-in feel that synthetic tiles just can’t replicate.
Ever walked barefoot on cold tile in the morning? Yeah, not fun. But here’s the thing: Spanish tiles retain heat better than porcelain or stone, so they’re less likely to turn your hallway into an ice rink. FYI, if you’re in a colder climate, radiant heating underneath is a game-changer. Just saying.
2. Choosing the Right Spanish Tile for Your Hallway
Not all Spanish tiles are created equal. Some are glossy, some are matte, and some look like they’ve been plucked straight from a 17th-century courtyard (in a good way). Here’s how to pick the perfect one for your space:
Color Matters
Dark tiles can make a narrow hallway feel cozy but might shrink the space if you’re not careful. Lighter shades, like creamy whites or soft yellows, open things up. My personal favorite? A mix. Use a neutral base and add pops of color with mosaics or rugs.
Finish & Texture
Glossy tiles reflect light and feel luxe, but they can be slippery when wet. Matte finishes are more forgiving and give that rustic, understated look. If you’re going for authenticity, seek out hand-scraped or textured tiles—they add grip and character.
Pattern Play
Classic geometric patterns (like checkerboard or encaustic) are timeless, but don’t be afraid to experiment. A border of patterned tiles along the edges can frame the hallway beautifully. Or, go wild with a central mosaic medallion if you’ve got the space.
3. Mosaic Accents: The Secret Weapon
Mosaics are like the jewelry of flooring—small, shiny, and capable of elevating the whole look. But before you go sticking them everywhere, here’s how to use them right:
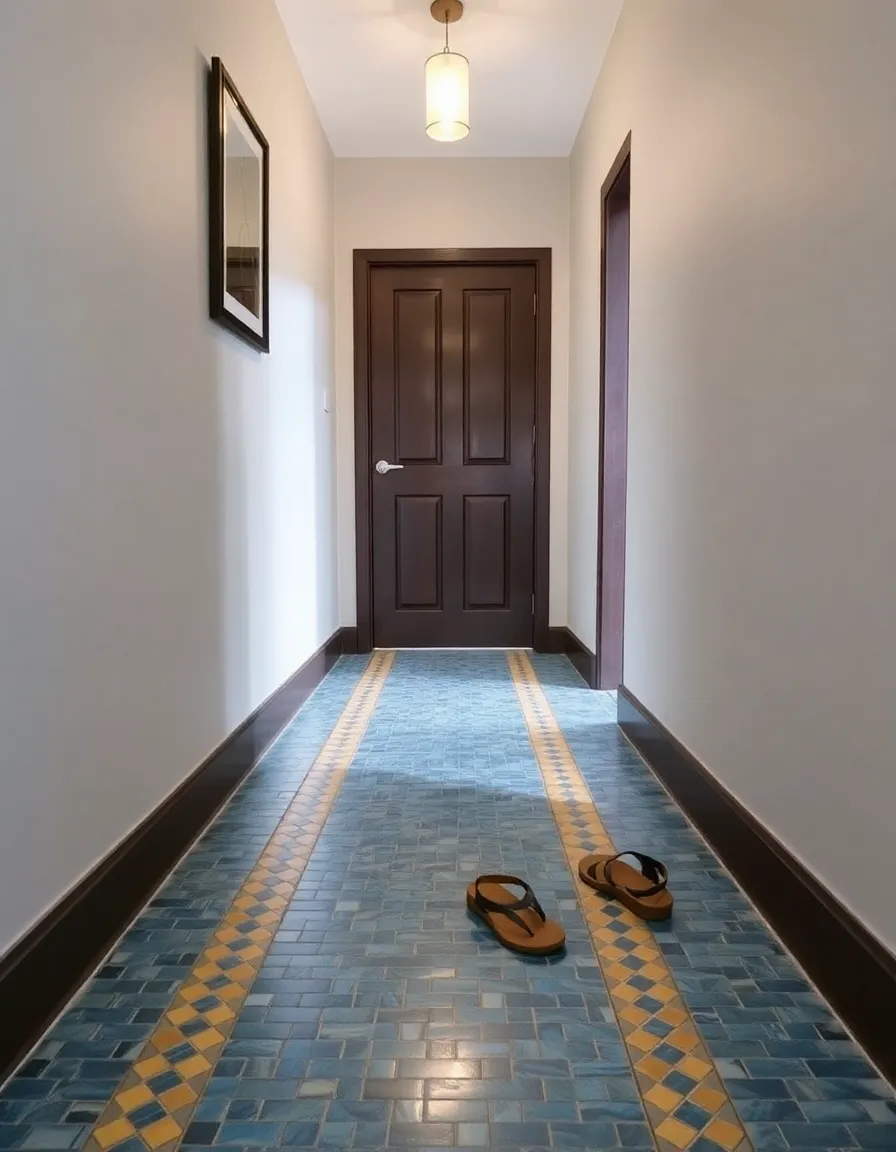
Strategic Placement: Frame doorways with a mosaic border, or create a “runner” effect down the center of the hallway. It draws the eye forward and makes the space feel intentional.
Mix Materials: Combine ceramic mosaics with metallic or glass tiles for subtle shimmer. Just avoid overdoing it—unless you want your floor to double as a disco ball.
DIY-Friendly? Maybe. If you’re patient and detail-oriented, small mosaic projects are doable. But for large areas, hire a pro. Crooked tiles will haunt your dreams.
Pro tip: Mosaics are also a genius way to hide transitions between different flooring materials. Got tile meeting hardwood? A mosaic threshold smooths the shift.
4. Installation Tips to Avoid Disaster
Alright, let’s talk logistics. Spanish tiles are forgiving, but there are a few non-negotiables unless you enjoy cracked floors and regret.
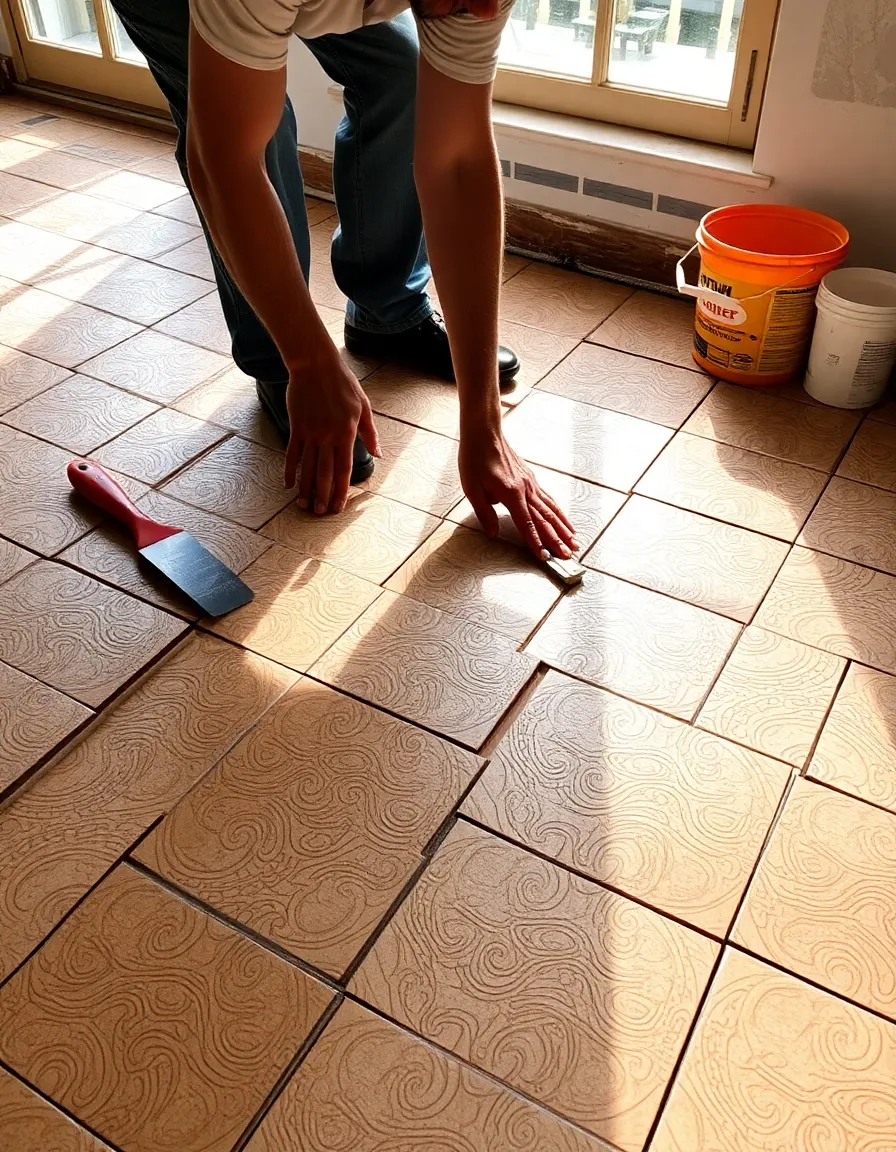
- Subfloor Prep: These tiles need a solid, level base. Any flex in the subfloor = cracks. Plywood or cement backer board is your friend.
- Grout Like a Pro: Use sanded grout for wider joints (it’s stronger), and seal it afterward. Nobody wants stained grout lines.
- Acclimate the Tiles: Let them sit in your home for 48 hours before installing. Humidity changes can warp them—learned that the hard way.
And for the love of design, buy extra tiles. Spanish tiles often vary slightly in color due to their handmade nature. You’ll want backups for repairs or future projects.
5. Styling Your Tiled Hallway
Now for the fun part: making it look like a magazine spread (but actually livable). Here’s how to balance the boldness of Spanish tiles:
Keep Walls Simple: Let the floor shine. White, soft gray, or warm beige walls prevent visual overload.
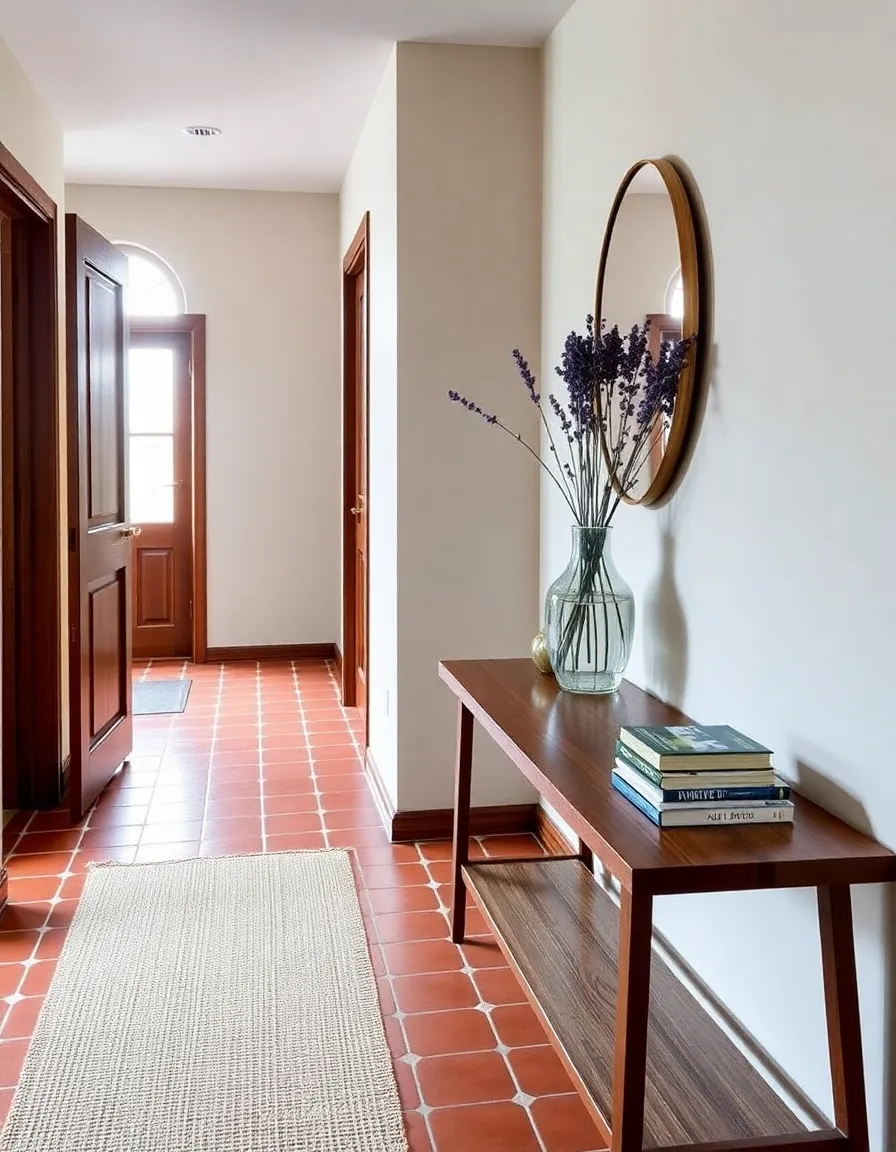
Add Softness: A runner rug or woven baskets soften the look and reduce noise—because nobody likes echoey hallways at 6 a.m.
Lighting Magic: Pendant lights or sconces cast shadows that highlight the tile texture. Go for warm bulbs to enhance those earthy tones.
Personal touch: I hung a large mirror at the end of my tiled hallway. It doubles the light and makes the space feel twice as big. Cheap trick, big impact.
So, there you have it—your hallway’s glow-up starts with Spanish tiles and a dash of mosaic magic. Whether you’re going full-on bold or keeping it subtle, this combo adds personality without sacrificing practicality. And hey, if your guests suddenly start complimenting your floors instead of just rushing to the bathroom, you’ll know you nailed it.
Now, go forth and tile responsibly. And if you accidentally end up with a kitchen that looks like a Sevilla tapas bar? No regrets. Send pics. 🙂